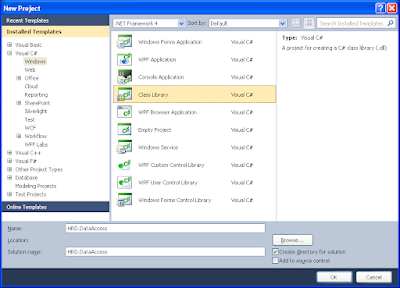
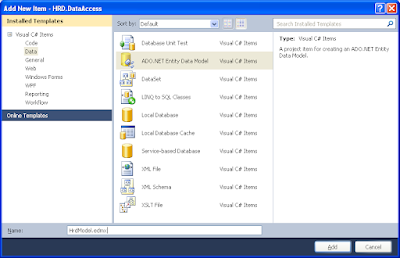
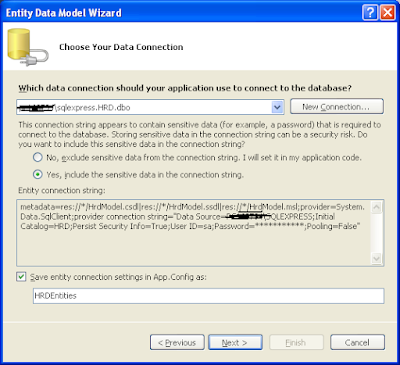
Whenever I learn any new things in .Net or experimenting with something, I always prefer to use Console Applications. I personally feel it helps me to concentrate more on what actually I am trying to learn or experiment without any sort of distractions. Moreover it keeps things simple.
I would like to do the same while learning EF Code First 4.1. Though most of articles in web explain EF with respect to ASP.NET MVC, I favor learning it through my own way using console application without creating any controllers and views!!
Following are the prerequisites to work with EF Code First 4.1.
· SQL CE or SQL Express (SQL CE would be an ideal option for learning purpose)
Let’s go and create the console application.
After creating a console application project, the initial step would be adding references to the following assemblies.
· EntityFramework (Version 4.1)
· System.Data.Entity
· System.ComponentModel.DataAnnotations
Now it’s time to defining the model and the data context. To keep it simple, I am going to define only one model “User”.
The data context would be as following.
This basic infrastructure is sufficient to run the console application. However as we are using the data context for learning purpose, we might change the model often and doing so will make it inconsistent with the database created automatically when you run the application for the first time. We can circumvent this situation by creating new Data Context initialize class that inherits from DropCreateDatabaseIfModelChanges<TContext> where TContext is the data context that you want to sync with the database always. This class also offers an override function “Seed” using which we can fill the database with some initial data.
The finished code of DataContext initialize class will be like the following.
This datacontext initialize class would create the database whenever the database model changes and create two users by default. Now it’s time to code our Main method, which is actually to trigger all the actions!.
Here we go. Pay close attention to the first statement in the Main method that initializes the database with an instance of DataContextInit class that we have created.
Now you can run the application without any configurations. The default behavior of EF Code First will create the database with the same name as your data context name here “MyDataContext” in the SQL Express server installed in the local machine. If you wish to change this default behavior and wanted to use SQL CE instead of SQL Express just add an App.Config to the project and create a connection string with the name of your data context as follows.
That’s it. “Ctrl+F5” and here is the output
Summary
In this blog post we have explore the basic foundation on how to work with EF CodeFirst using console application. If you want to get your dirty with EF Code First without any distraction Console Application is a better one. You can download the sample code used in this blog post from here.


